Some plugins require a JDBC driver to be uploaded added to the namespace. For example, before you can run a pipeline with a MySQL batch source plugin, you need to upload add the supported MySQL driver to the namespace. You can upload add JDBC drivers in to a namespace from the CDAP Hub or , the Namespace Admin page, or the Add entity page. You can also easily delete unneeded JDBC drivers from the Namespace Admin page.
Adding a JDBC Driver from the Hub
To add a JDBC driver from the Hub, follow these steps:
From the CDAP Hub, search for the driver you want to add to the namespace.
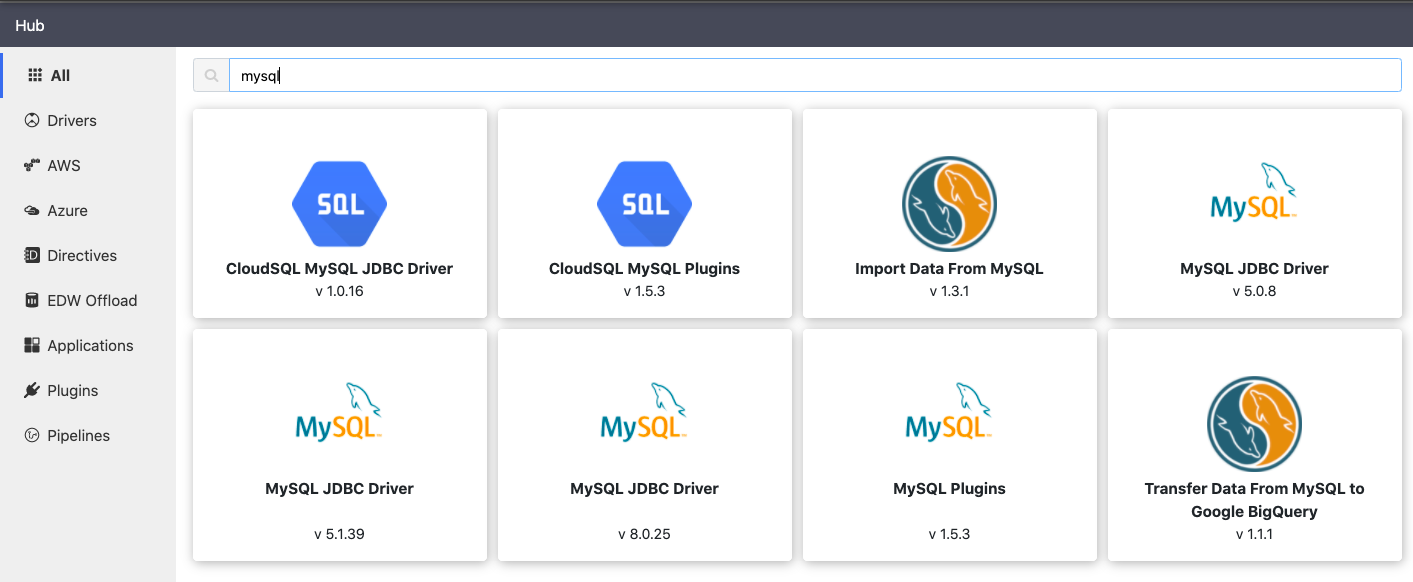
Click the tile for the driver you want to add.
To get information about where to download the JAR file, click 1. Download.
To upload the JAR file, click 2. Deploy.
Upload the JAR file and click Next.
Verify the Class Name and Version of the driver.
(Optional) Edit the Name of the driver.
Click Finish.
The driver is added to the namespace.
Adding a JDBC Driver from the Namespace Admin Page
To add a JDBC driver from
...
the Namespace Admin page, follow these steps:
Download the driver you want to use. For example, to download the JDBC driver for MySQL, go to dev.mysql.com and download the JAR file.
In CDAP, click the hamburger menu and then click Namespace Admin.
The Namespace Admin page appears.From the Namespace Admin page, click Drivers.
Upload the JAR file and click Next.
The driver version is added to the Version field.Enter the Name and Class Name of the driver.
Click Finish.
The driver is added to the namespace: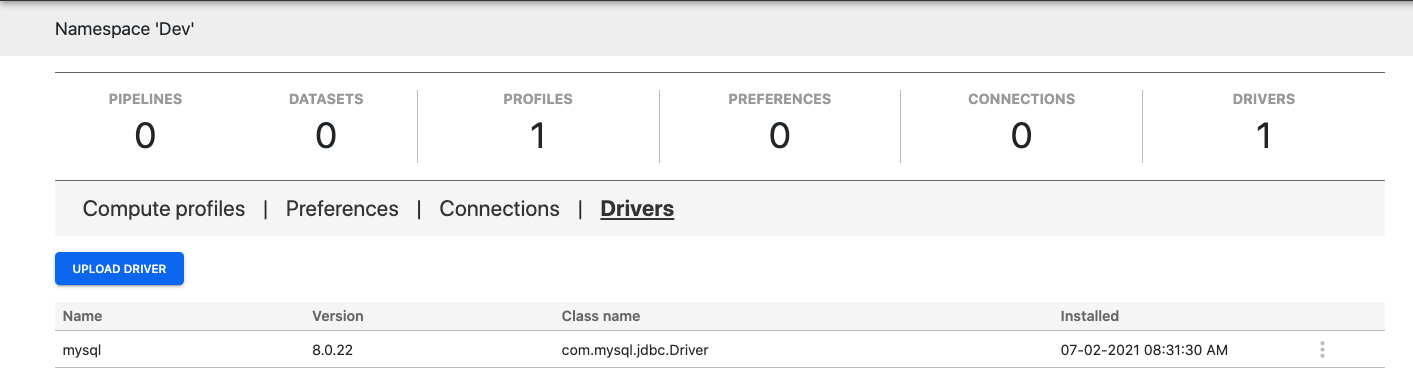
Adding a JDBC Driver from the Add Entity Page
To add a JDBC driver from the Add Entity page, follow these steps:
Download the driver you want to use. For example, to download the JDBC driver for MySQL, go to dev.mysql.com and download the JAR file.
In the Pipeline Studio, click the green plus sign.

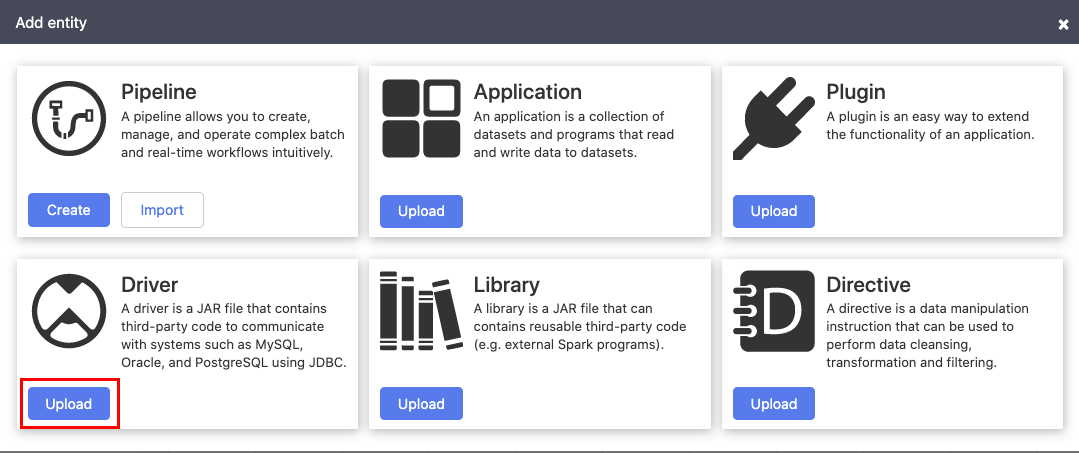
The Add entity page appears.
From the Add entity page, click Upload in the Drivers box.
Upload the JAR file and click Next.
The driver version is added to the Version field.Enter the Name and Class Name of the driver.
Click Finish.
The driver is added to the namespace:
Deleting a JDBC Driver
To delete a JDBC driver from a namespace, follow these steps:
In CDAP, click the hamburger menu and then click Namespace Admin.
The Namespace Admin page appears.From the Namespace Admin page, click Drivers.
Locate the driver you want to delete.
Click the three buttons on the right and click Delete.

The driver is deleted from the namespace.
Viewing Error Messages
If you receive an error while adding the JDBC driver, you can get additional details by clicking the arrows to the right of the message:
...